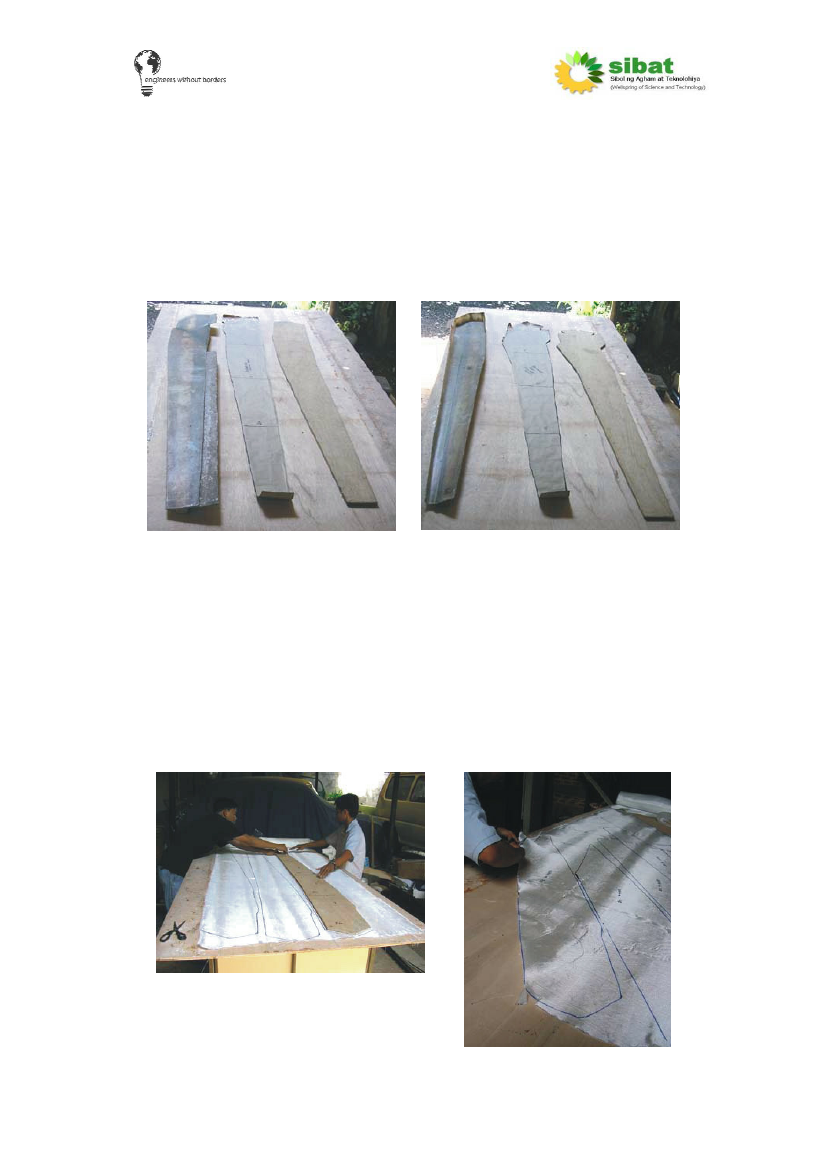
For each mould half it is best to use a cutting template. This was made by
firstly using a large sheet of paper in the mould. This was cut slightly larger
than the mould. It is better that the layers are slightly larger than the mould as
this can easily be cut away later. If smaller then, where there is no fibreglass,
the blade will be significantly weaker. This paper was then laid flat on a piece
of plywood and its shape copied onto the wood. The wood was then cut to
size and used as a durable template from which to cut all the layers. Two
templates are required, one for each blade half. If enough wood is available
then four templates could be produced for each blade half – one for each size
required (Full length, ¾ length, ½ length and ¼ length).
WINDWARD
PAPER
PLYWOOD
MOULD
TEMPLATE TEMPLATE
BACKWARD PAPER
MOULD TEMPLATE
PLYWOOD
TEMPLATE
Once the template has been prepared it can be used to cut the layers of WC
fibreglass. The fibreglass mat is laid out on a large smooth surface. The
template is laid down onto the mat, taking care to ensure that the weave is in
the correct direction. The template can then be drawn around using a marker
pen. Ensure that each piece is labelled with: the blade half (windward or
backward), the size (full length, ¾ length, ½ length and ¼ length) and the
weave (90 or 45). For each length, 2 layers of 90º weave and 2 layers of 45º
weave are required. As there are so many pieces, it is easy to get them mixed
up but careful labelling can help prevent this. The pieces can then be carefully
cut out using sharp scissors or a craft knife.
90 degree pieces
45 degree pieces
15